Popcorn ceilings, also known as stipple ceilings, were once a popular choice for homes in Canada. However, they have become somewhat outdated, and many homeowners now seek to repair or remove them. If you need to patch a popcorn ceiling, it’s essential to follow the right techniques to ensure a seamless finish. Here are some key tips to help you achieve a professional look when working with drywall patches on your ceiling.
Tips for Patching a Popcorn Ceiling
- Pay Attention to the Edges
When patching a ceiling, the edges of your drywall patch play a crucial role in blending with the surrounding texture. If not handled properly, they can stand out and make the repair noticeable. - Use a Wet Cloth or Sponge to Smooth Excess Mud
After applying drywall mud, use a damp cloth or sponge to remove excess material. This step helps in matching the surrounding texture and prevents rough transitions. - Prime Before Applying Texture Spray
Once your drywall patch is dry and smooth, apply a primer before spraying texture. The primer helps the texture adhere properly to the ceiling, ensuring a more even finish. - Choose the Right Texture Product
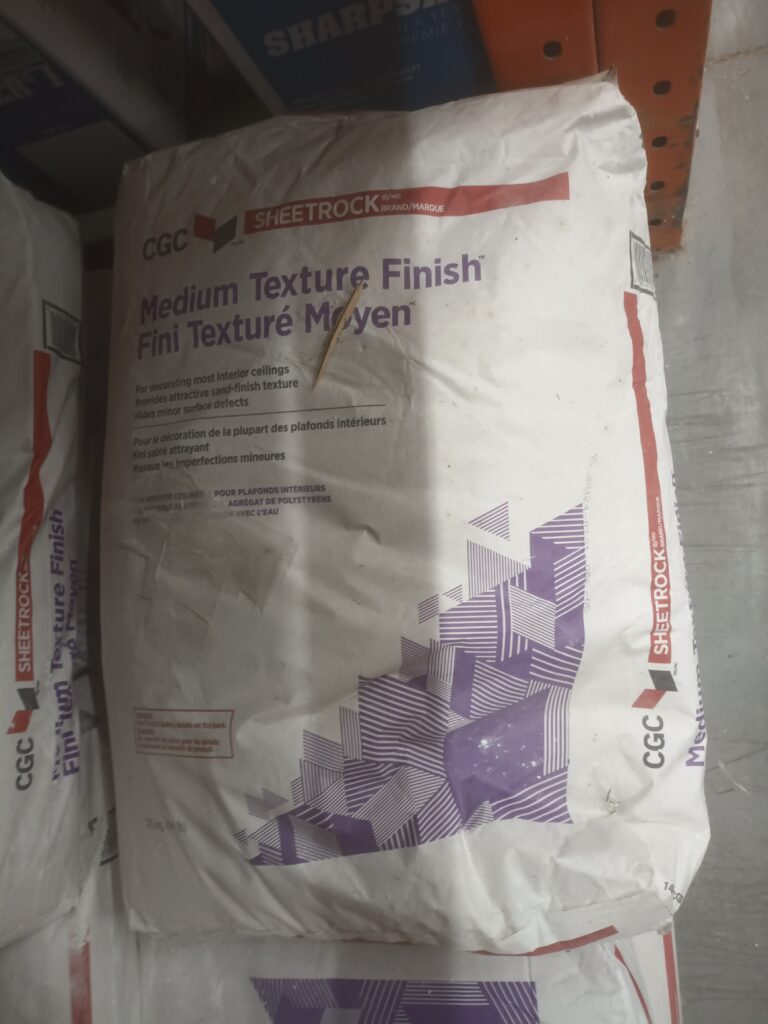
In the Canadian market, you can find CGC Medium Texture Finish, a product specifically designed for interior ceiling decoration. This product provides an excellent match for most stipple ceilings and ensures a professional outcome. - Use the Right Tools
If you’re tackling a small area or a DIY project at home, consider using a Wagner Texture Spray Gun. This tool allows for an even application of texture and simplifies the process. - Test Before Spraying
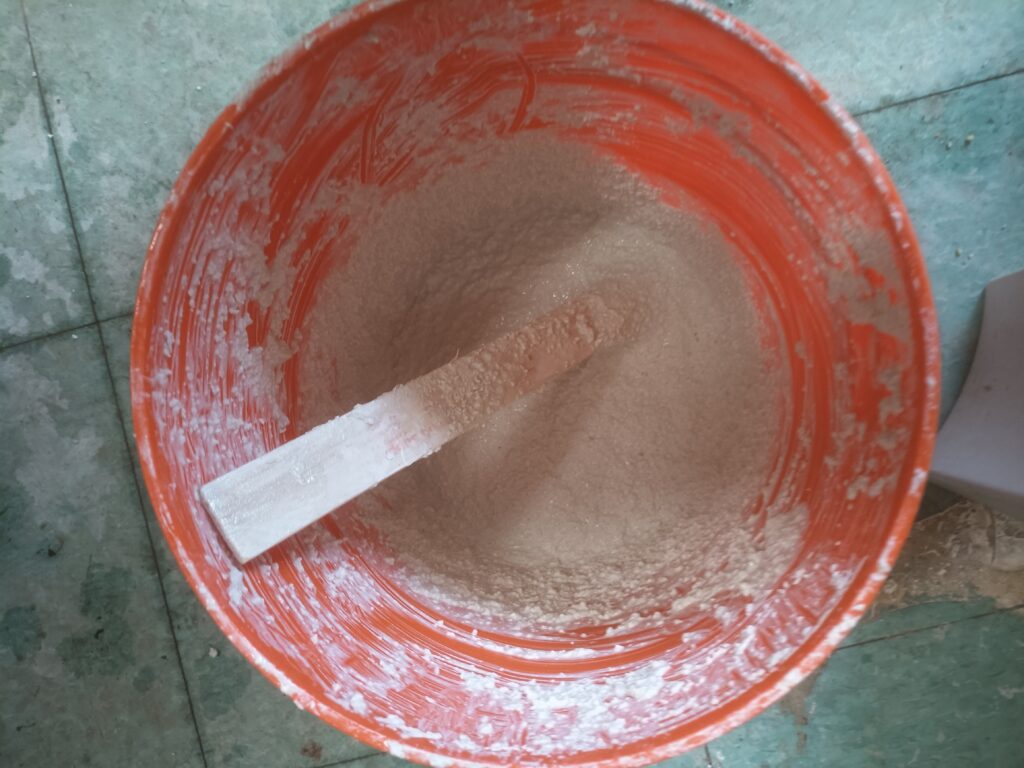
Always test the spray pattern on a scrap piece of drywall or cardboard before applying it to your ceiling. This practice helps you adjust the texture to match the existing ceiling. - Adjust the Mixture Consistency
The texture mixture should not be too thick or too runny. Finding the right consistency is key to achieving a uniform texture that blends well with the existing surface.